FitPAWS Balance Bone: Worth the Investment?
4th Apr•4 min read
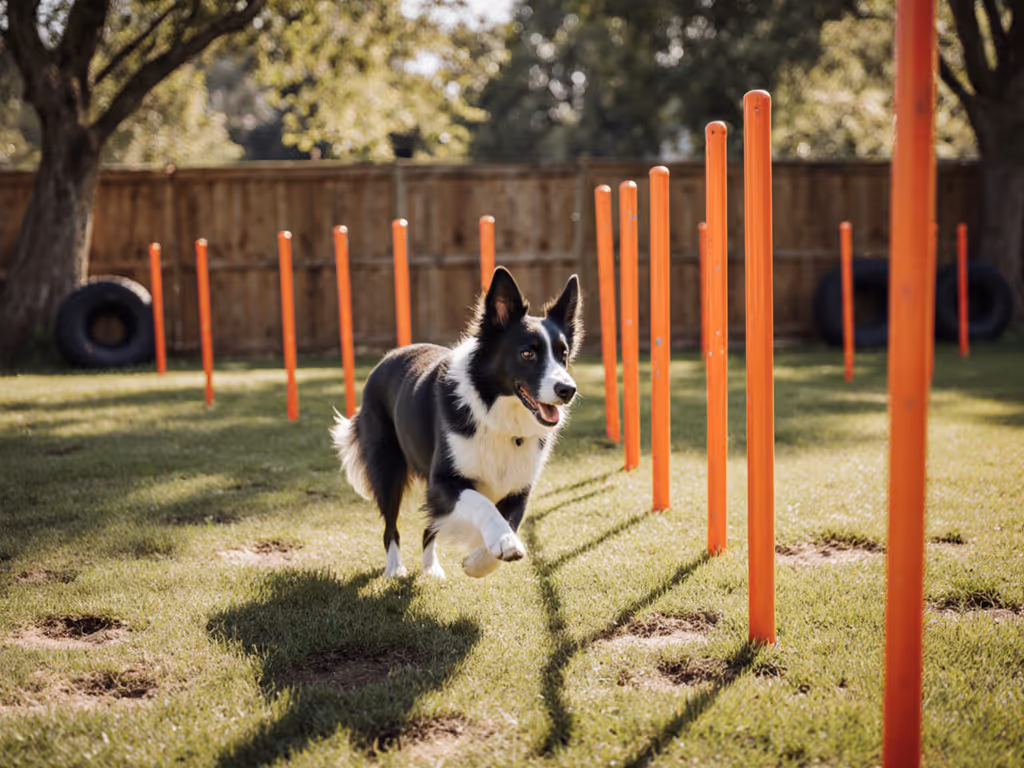
Dog weave poles are structured agility equipment that teaches canine athletes to navigate a straight line of vertical posts in a weaving pattern (a skill fundamental to competitive agility and a potent outlet for high-drive dogs confined by space, weather, or time scarcity).[1][5] Unlike fetch or sprinting, which demand open terrain and favorable conditions, agility weave pole training builds precision, body awareness, and mental engagement indoors or outdoors in compact footprints. If you're setting up indoors, see our space-saving indoor agility setup guide. This makes weaves a practical answer for apartment dwellers and owners juggling demanding schedules.
Weave poles also force deceleration and controlled movement (the opposite of chaotic arousal). A dog that learns to thread poles with accuracy develops impulse control alongside physical fitness. But like any training tool, success hinges on three pillars: choosing equipment that won't fail mid-session, installing it safely and repeatably, and progressing your dog through proven methods. Cut corners on any one, and you'll waste time, frustrate your dog, and gather another piece of dust-collecting gear.
Weave poles serve multiple roles. In formal agility competition, they test the dog's ability to enter at speed from either side, thread through without skipping or hitting posts, and exit cleanly, all while the handler guides from the side.[3][5] For everyday households, weaves offer something quieter and more containable: a mental puzzle wrapped in physical work. A dog working poles is focusing intently, calculating stride length, and responding to your directional cues. That neural load often exhausts dogs faster than a straight sprint.
For multi-dog homes or owners managing reactive dogs, weaves are also discrete. Your dog isn't loose in open space; they're channeled through a defined path, reducing the risk of prey drift or social collision. For puppies still building coordination and cartilage tolerance, weaves teach movement precision without the impact trauma of jumping or hard stops. For age-appropriate tools, see our puppy exercise equipment guide.
The catch: weave pole work is not a substitute for cardiovascular exercise, nor is it suitable for dogs with uncontrolled enthusiasm or untrained impulse. A young dog barreling through poles without focus will reinforce sloppy movement and risk ligament strain. This is why progression matters, and why your choice of equipment affects how safely and clearly you can teach.
Competition weave poles are spaced 24 inches (or 60 centimeters) apart (a spacing that accommodates most dog sizes while demanding enough precision to prevent careless threading).[3][5] For training beginners or very small dogs, you can start wider and gradually narrow the spacing as confidence builds. Most canine weave pole setup starts with 6 poles and extends to 12 as the dog's skill increases.[1][5] Planning a full course? Start with our backyard agility setup guide for safe spacing, footing, and progression.
Pole height matters less than pole visibility and stability. A flimsy pole that sways or wobbles teaches the dog that the obstacle is not solid (a failure-mode note that cascades into poor habits when transferring to competition equipment). Posts are typically made of ¾-inch PVC pipe, which offers a good balance of lightness and rigidity when properly stabilized.[1][4][8]
Post diameter also influences feel. A thinner post (½ inch) can flex more in wind and under pressure; a ¾-inch post resists deflection better. If you're buying poles or building them, tap them gently when installed. They should feel planted and respond to touch with minimal give. If they shift or wobble, they're not ready for training.
Weave pole equipment exists on a spectrum: professional molded sets, stick-in-the-ground DIY PVC assemblies, and hybrid frames that blend pre-cut components with metal base plates.
The simplest approach uses 6 large nails (12 inches long) driven partially into the ground, with PVC pipes slipped over them.[4] Cost is minimal, roughly $40-60 total. The failure mode is obvious: nails bend, rust, or shift if driven inconsistently. PVC over a nail can slip if the fit is loose or if the nail is not deep enough. Outdoors on uneven ground or soft soil, this method requires frequent re-leveling. Winter frost heave can pop nails out entirely, leaving jagged metal hazards. If you use this setup, inspect nails monthly, cover them when not in use, and keep a record of your nail depth and angles to maintain consistency.
A more durable build uses ¾-inch PVC pipe cut to 38 inches, secured in metal brackets or couplings attached to a slotted-steel base.[1] This creates a freestanding, portable set that stands on carpet or smooth outdoor surfaces without anchoring to the ground. Materials include PVC couplings, carriage bolts, washers, and hex nuts, fasteners that must be inspected quarterly for corrosion or loosening. The advantage: no ground prep needed, and poles are stable enough for indoor use in apartments. The drawback: more assembly time upfront, slightly higher cost ($150-250 for a quality set), and slotted-steel bases that can rust if exposed to moisture.[1] Coat steel components with clear sealant and store poles indoors or under cover when not in use. Test it wet, cold, hot, and stored (meaning set up your frame, expose it to weather, bring it inside to a heated or damp space, and inspect fasteners and joints after each cycle). Materials that don't weather that rotation tend to fail quietly when you need them most.
Commercial weave poles use lightweight composite materials and molded bases that resist corrosion and require little maintenance. Cost ranges from $250-500+ for a complete set. The trade-off is convenience: they're engineered for durability and consistent spacing but less modular and harder to repair if a pole cracks or a base joint fails.
Weather tests gear; your dog tests comfort; time tests value.
For apartment dwellers or owners short on storage, a professional set makes sense. For budget-conscious trainers or those planning extended outdoor use, a DIY frame-based setup often wins on longevity and repairability, if you commit to a maintenance schedule.
Regardless of which system you choose, repeatable setup is critical. Dogs are sensitive to small changes in spacing and alignment. If poles shift week to week, the dog's entry angles change, and bad habits creep in. For risk checks beyond spacing and alignment, review our backyard agility safety comparison with vet-informed recommendations.
For frame-based poles: Always set them on level ground. If training indoors on carpet, the carpet won't perfect an uneven sub-floor. Use a 2-foot level across the base plates before each session. Verify fasteners are tight by hand; if a bolt spins freely, it's loose and must be re-tightened immediately.[1]
For stick-in-the-ground poles: Use a 24-inch measuring stick marked in inches to space nails evenly.[4] A rope or string anchored to the first and last nail can help you keep poles in a straight line.[3] Drive nails at the same angle and depth each time; mark your hammer or use a depth stop if available.
Placement on different surfaces: Carpeted indoors, poles stand securely because friction grips the base and frictional resistance is high. On bare concrete or wood, bases can slide. Add rubber grip pads or use non-skid tape under frame feet. On grass or soil, uneven ground will cause one pole to dip, so level the ground or adjust pole height with shims.
New dogs start wide and gradually narrow. The common first step is the 2×2 method: two pairs of poles, wide apart, creating a shallow weaving path that teaches entry and basic threading.[1][6][7] Once the dog understands the pattern, you add more poles (the 4×4 method, or two sets of 4 poles) to double the work and deepen muscle memory.[7] Finally, you narrow the spacing from 30+ inches down to the standard 24 inches.
Training typically uses the channel or V-method: guides or closely spaced pairs that funnel the dog straight, then are gradually removed as the dog gains confidence.[3][6] This prevents the dog from skipping poles or taking shortcuts. Progression should take weeks or months. Rushing through spacing changes leads to sloppy entries and increased injury risk.
After each session, inspect poles and fasteners for cracks, dirt, or loose parts. For a full care plan that extends equipment life, follow our exercise equipment maintenance guide. PVC can split under stress if exposed to temperature extremes or UV light; indoor storage is ideal. If poles are used outdoors, store them in a shaded, dry area (a garage or under a tarp), rather than left in direct sun year-round. UV degrades PVC over time, making it brittle.
Metal components need a quick wipe-down after wet sessions. Salt spray from winter roads or coastal air accelerates rust on uncoated steel. A maintenance schedule (quarterly inspections, annual re-coating of steel bases with clear rust preventative, and bolt tightness checks) will keep a well-made set functional for 5+ years. I tracked six harnesses through slush, heat, and salt spray, hanging them in a closet to sniff for off-gassing and check hardware. The keepers dried fast, didn't reek, and still fit months later. The pretty ones that failed? They had weak fasteners and coatings that didn't weather the cycle. Equipment that endures teaches you more than gear that breaks, it shows you what materials and engineering actually hold.
The right weave pole setup depends on your space, budget, and commitment level. Apartment dwellers or short-term experimenters should start with a professional molded set or a simple frame-based DIY build; both are portable and require no ground prep. Suburban handlers with a secure outdoor spot and a multi-year training plan can invest in stick-in-the-ground poles or a hybrid setup. Whichever you choose, commit to consistent installation, a structured progression plan, and a maintenance routine. Weave poles aren't a one-time purchase; they're a long-term investment in your dog's coordination, focus, and bond with you.
Ready to deepen your training? Explore force-free agility resources, find a qualified trainer in your area, and consider video-recording your dog's progress to track improvements in speed, accuracy, and consistency over weeks and months.